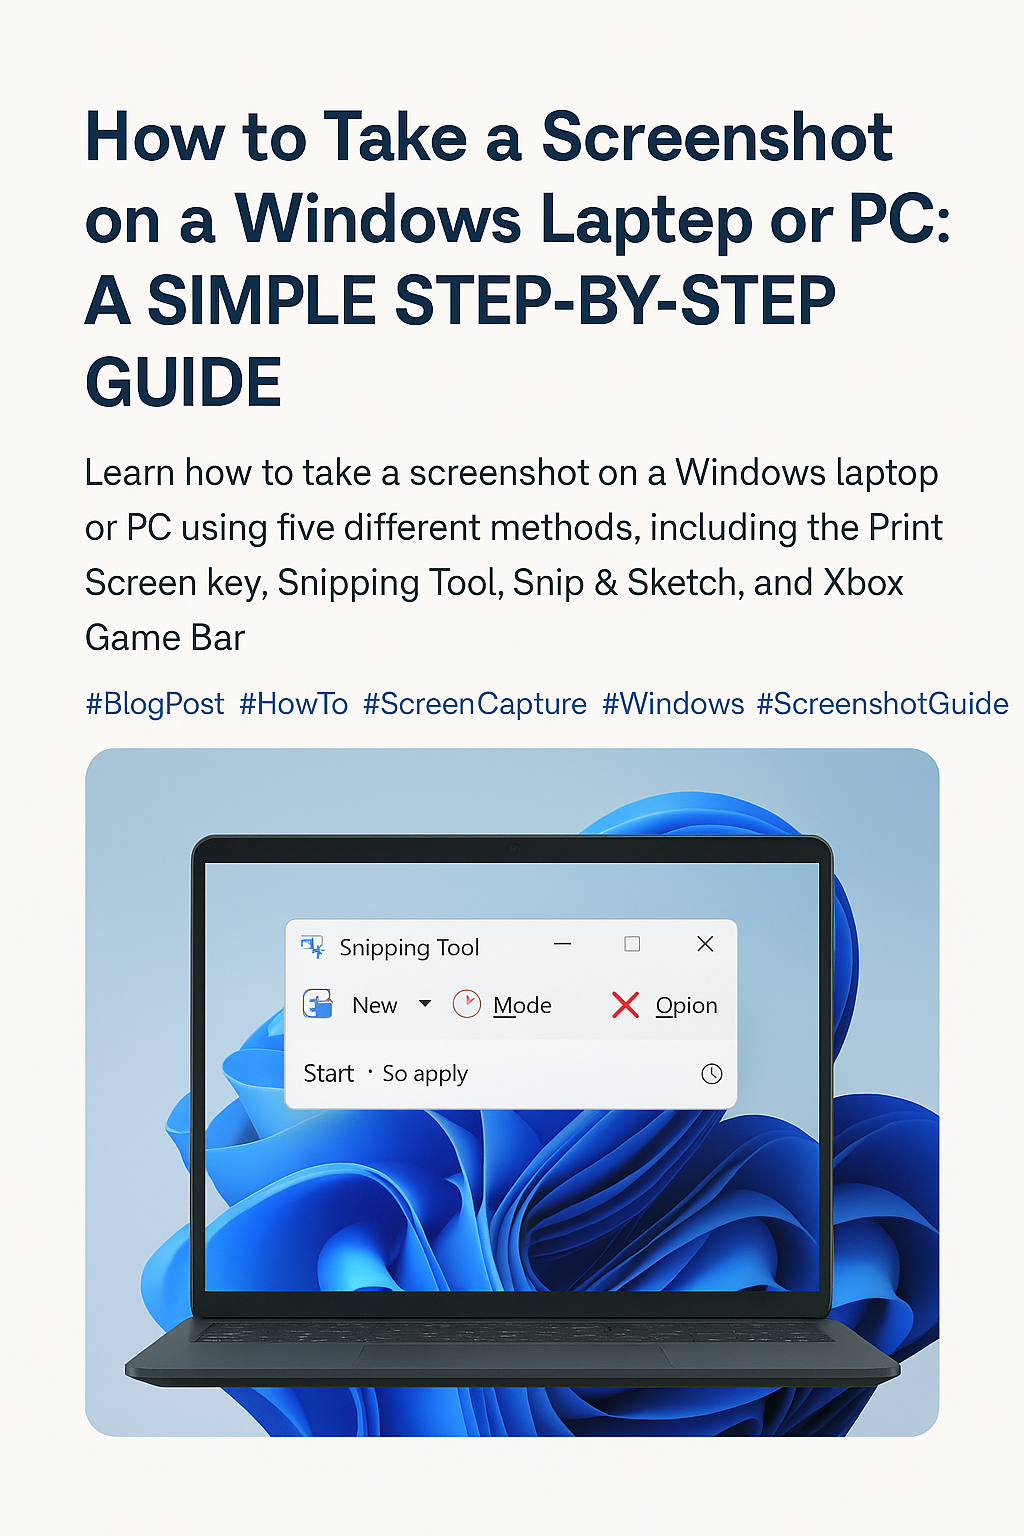
📸 How to Take a Screenshot on a Windows Laptop or PC: A Simple Step-by-Step Guide
Ever stumbled upon something interesting on your screen and wanted to save it instantly? Whether it’s a hilarious meme, an important document, or just something you want to share with a friend, taking a screenshot is one of the handiest tricks every Windows user should know.
If you're new to this or just need a refresher, don’t worry—this guide is for everyday users, not tech geeks. Let’s break it down, step by step, without any confusing jargon.
Know More: How to take Screen Record on Windows
🖱️ Method 1: Pressing the Print Screen Key (PrtScn)
Let’s start with the classic way.
✅ Here’s how it works:
1. Look for the PrtScn or Print Screen key on your keyboard. It's usually at the top row, somewhere near the F12 key.
2. Press it once. That’s it—it takes a snapshot of your entire screen.
3. Now open Paint, Word, or even WhatsApp Desktop, and just hit Ctrl + V (paste).
4. You can then save or share the image from there.
💡 Pro Tip:
This method doesn’t save the screenshot automatically. It just copies it to your clipboard—so make sure you paste it somewhere before you take another one!
🖼️ Method 2: Windows Key + Print Screen
Want the screenshot to save directly to your PC? This method is for you.
✅ Try this:
1. Press Windows Key + PrtScn at the same time.
2. Your screen will blink for a second—don’t panic, that means it worked!
3. The image gets saved automatically in:
Pictures > Screenshots folder.
🙌 Why it’s great:
You don’t need to paste or save manually. Super useful when you're in a hurry.
✂️ Method 3: Using Snipping Tool (Built-in App)
If you’re someone who likes precision, this tool is a game-changer.
✅ How to use it:
1. Press the Windows Key and type Snipping Tool, then open it.
2. Click New.
3. Your screen will fade slightly—use your mouse to draw a box around the area you want to capture.
4. Once done, click File > Save As to save your screenshot.
🎨 Bonus:
You can even draw or highlight stuff on the screenshot before saving it!
✨ Method 4: Snip & Sketch (Modern Alternative)
If your laptop is running Windows 10 or 11, you might prefer this upgraded version.
✅ Steps:
1. Press Windows Key + Shift + S.
2. Your screen dims and a small menu appears at the top.
3. Choose one of the following options:
Rectangular snip
Freeform snip
Window snip
Fullscreen snip
4. Once you snip, a preview pops up in the corner—click it to edit or save.
📥 The screenshot is copied to your clipboard too, so you can paste it anywhere.
🕹️ Method 5: Using the Xbox Game Bar (Great for Gamers)
Yes, your Windows laptop has a game recorder built in—even if you’re not a gamer, it works for screen captures too!
✅ Here’s how:
1. Press Windows Key + G to open Xbox Game Bar.
2. Click the camera icon or press Windows Key + Alt + PrtScn.
3. It saves the screenshot in:
Videos > Captures folder.
💬 Final Thoughts
Taking a screenshot on a Windows computer is easier than you think. Whether you're capturing an entire screen, a part of it, or a specific window, there's a shortcut that fits your style.
Don't feel bad if you didn’t know all these methods—most people only ever learn one! But now that you’ve got the full picture (pun intended 😉), go ahead and try each one to see which works best for you.
You might be interested in: How to schedule email on Outlook
Let us know in the comments: Which method do YOU use the most?
Comments (0)
Please login or create an account to post a comment.
No comments yet. Be the first to comment.