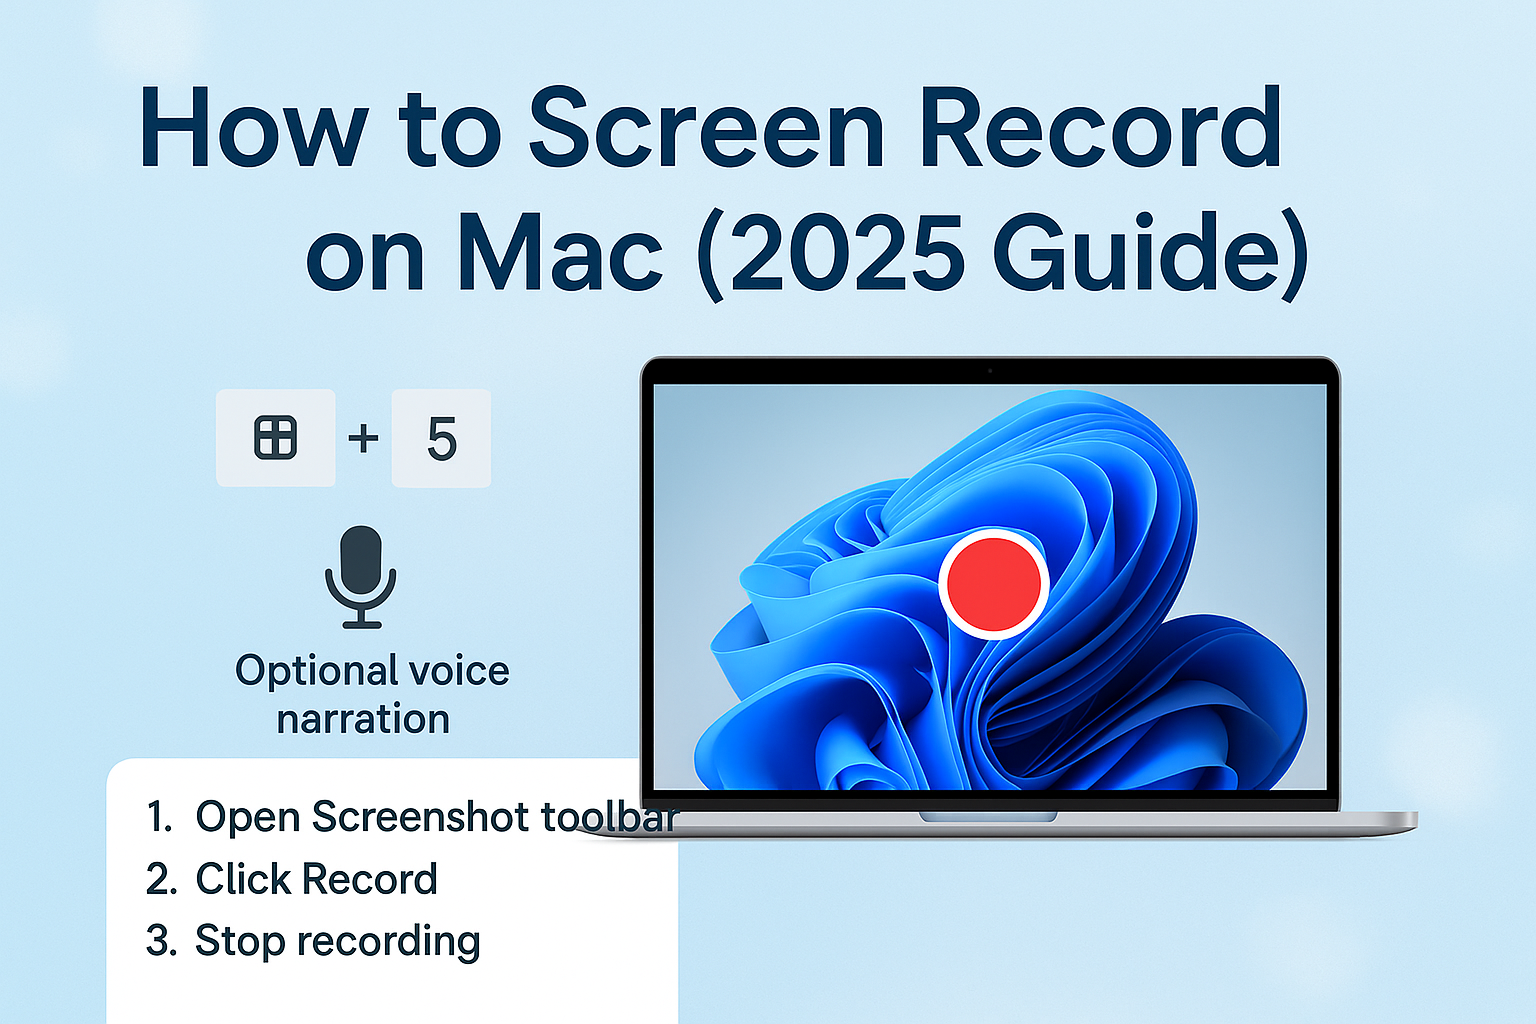
🖥️ Step-by-Step: How to Screen Record on Mac
🔹 Step 1: Open the Screenshot Toolbar
Press: Command + Shift + 5
You’ll see a toolbar pop up with screenshot and screen recording options at the bottom of your screen.
🔹 Step 2: Choose Your Recording Style
Record Entire Screen (icon with a full rectangle)
Record Selected Portion (icon with a dotted rectangle)
Choose what fits your purpose.
🔹 Step 3: Enable Microphone Audio (Optional)
Click “Options” on the toolbar.
Under "Microphone", choose Built-in Microphone if you want to narrate.
📢 Pro tip: Make sure you're in a quiet place if recording audio!
🔹 Step 4: Click "Record"
Once you're ready, click Record on the toolbar.
🎬 You’ll see a small stop button in the menu bar while recording.
🔹 Step 5: Stop Recording
Click the Stop icon in the top-right menu bar (next to your Wi-Fi and battery icons).
📂 The recording saves automatically to your Desktop (by default). You can change the save location under "Options" in the toolbar.
🧑💻 How to Edit Your Screen Recording
macOS lets you:
Trim the start/end of your video
Quick Share to Mail, Messages, or AirDrop
Drag & drop into iMovie or Final Cut for advanced edits
🎤 Want to Record Your Voice Too?
Yes! Just make sure to select a microphone before recording.
You can also adjust your input volume in:
> System Settings → Sound → Input
🛠 Troubleshooting
Shortcut not working? Make sure your keyboard settings haven’t disabled screenshot features.
No sound? Double-check microphone permissions in System Settings → Privacy & Security → Microphone.
Laggy video? Close unnecessary apps to free up RAM.
✅ Recap
Step Action
1️⃣ Press Command + Shift + 5
2️⃣ Select recording area
3️⃣ Enable mic if needed
4️⃣ Click Record
5️⃣ Stop and access your video
That’s it — simple and done! 🎉
🔚 Final Thoughts
Screen recording on a Mac is built right in — no need for fancy tools or expensive software. Whether you're teaching, troubleshooting, or just capturing memories, this little feature can be surprisingly powerful.
Give it a try and share your first recording like a pro!
Comments (0)
Please login or create an account to post a comment.
No comments yet. Be the first to comment.